

The Contacts section is used to store information about the people, companies, etc. that don’t really fit in the category of a Vendor (or Tenant, Landlord, and so on), that maybe don’t provide a direct service for you but whose contact information are nevertheless important for you to keep. These could for example be government employee contacts, bank representatives, board of trustee members, and so on.
Create a new Contact
To create a new contact, go to the People and Companies menu and click Contacts from the drop-down as shown in the screenshot above. Once on the contacts page, click New from the right-side menu.
Assign a Contact Type and Enter Information
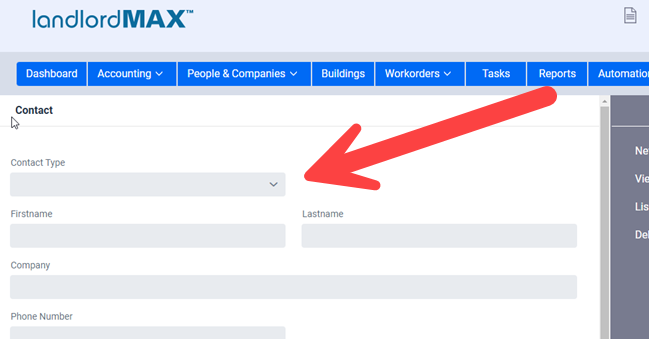
In the first field called Contact Type, enter a word that describes the contact such as Government employee, Bank representative, Board Member, HOA Board Member, and so on. Then fill in the rest of the information that is applicable to you (all fields are optional). If you’ve already entered the Contact Type before, the software will autofill/select the value for you if applicable. Additionally you can select it from the drop menu if there is at least one other Contact of that type in the system. Once you are satisfied with all the information for your new contact, click Save at the bottom of the page.