
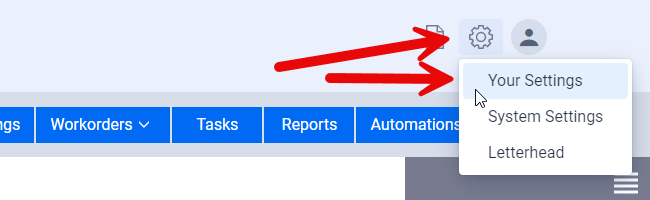
Your Settings are settings specifically for you rather than for the whole account (System Settings) which are shared by everyone. An example of the differences will be your email preferences versus how scheduled accounting are automatically created by the software or which time zone the software is calculating when rents are due and so on.
Date Format
The Date Format setting allows you to change how the dates are displayed throughout the application, including how they appear on the screen, in the reports, and so on. The date format you select will only be applied to your account, meaning every user on your account can have their own date preference. Please note that the date format you select is also how you will have to enter in the dates. That is to say it’s not just how you view the dates but also how you enter and edit them.
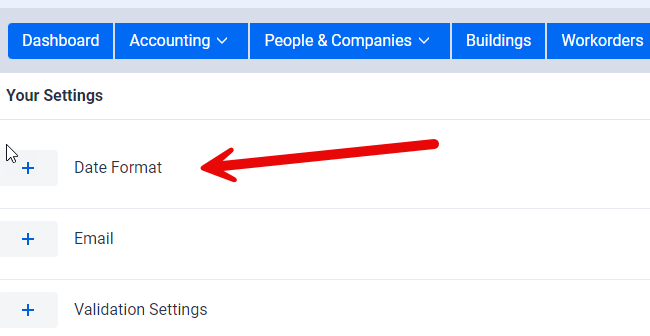
To change the date format click on the “+” button in the Date Format section. You will then want to click on the Edit button to edit and change your date format.
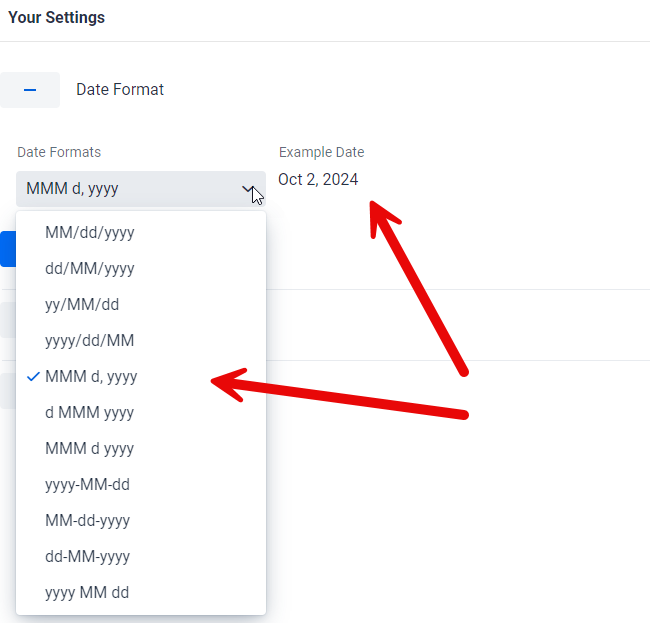
The software offers a number of different date formats. You can select from the drop down menu which date format you prefer and once you do the software will automatically show you today’s date in your date format on the right of the drop down menu to confirm this is what you want and are expecting. The MMM means you want the month to be spelt in abbreviated form rather than entered as a number.
We’ll refer you to the Email Customizations section of the user manual for the email settings as it goes into details on how to edit and setup the different email settings.
Validation Settings
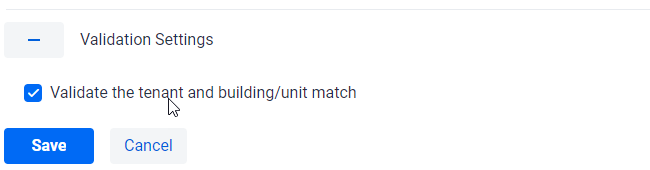
Whenever you create or edit an Accounting Entry, Workorder, and in essence anywhere that the building and tenant should generally match, the software will by default confirm that the tenant and building you selected do in match. Normally the software will also automatically select the building if you enter in the tenant, or vice versa, but in some cases this may not be possible, or you may be doing some kind of manual override. So for example if you selected Bob as the tenant and 55 Main St as the building and Bob is not the tenant at that building/unit then the software will notify you of this fact and ask you to confirm that you want to proceed. In essence it’s to help prevent data entry errors where you select mismatching tenants and buildings
Normally you will want this setting to be turned on (which it is by default) but there can be situations where it is very useful to turn it off such as if you are doing a lot back dated entries. In this case a lot of the entries you could be entering are for past tenants and so they will not match, which is expected. That being said it is strongly recommended that once you finish this type of activity that you turn it back on to avoid data entry errors.